Step 01
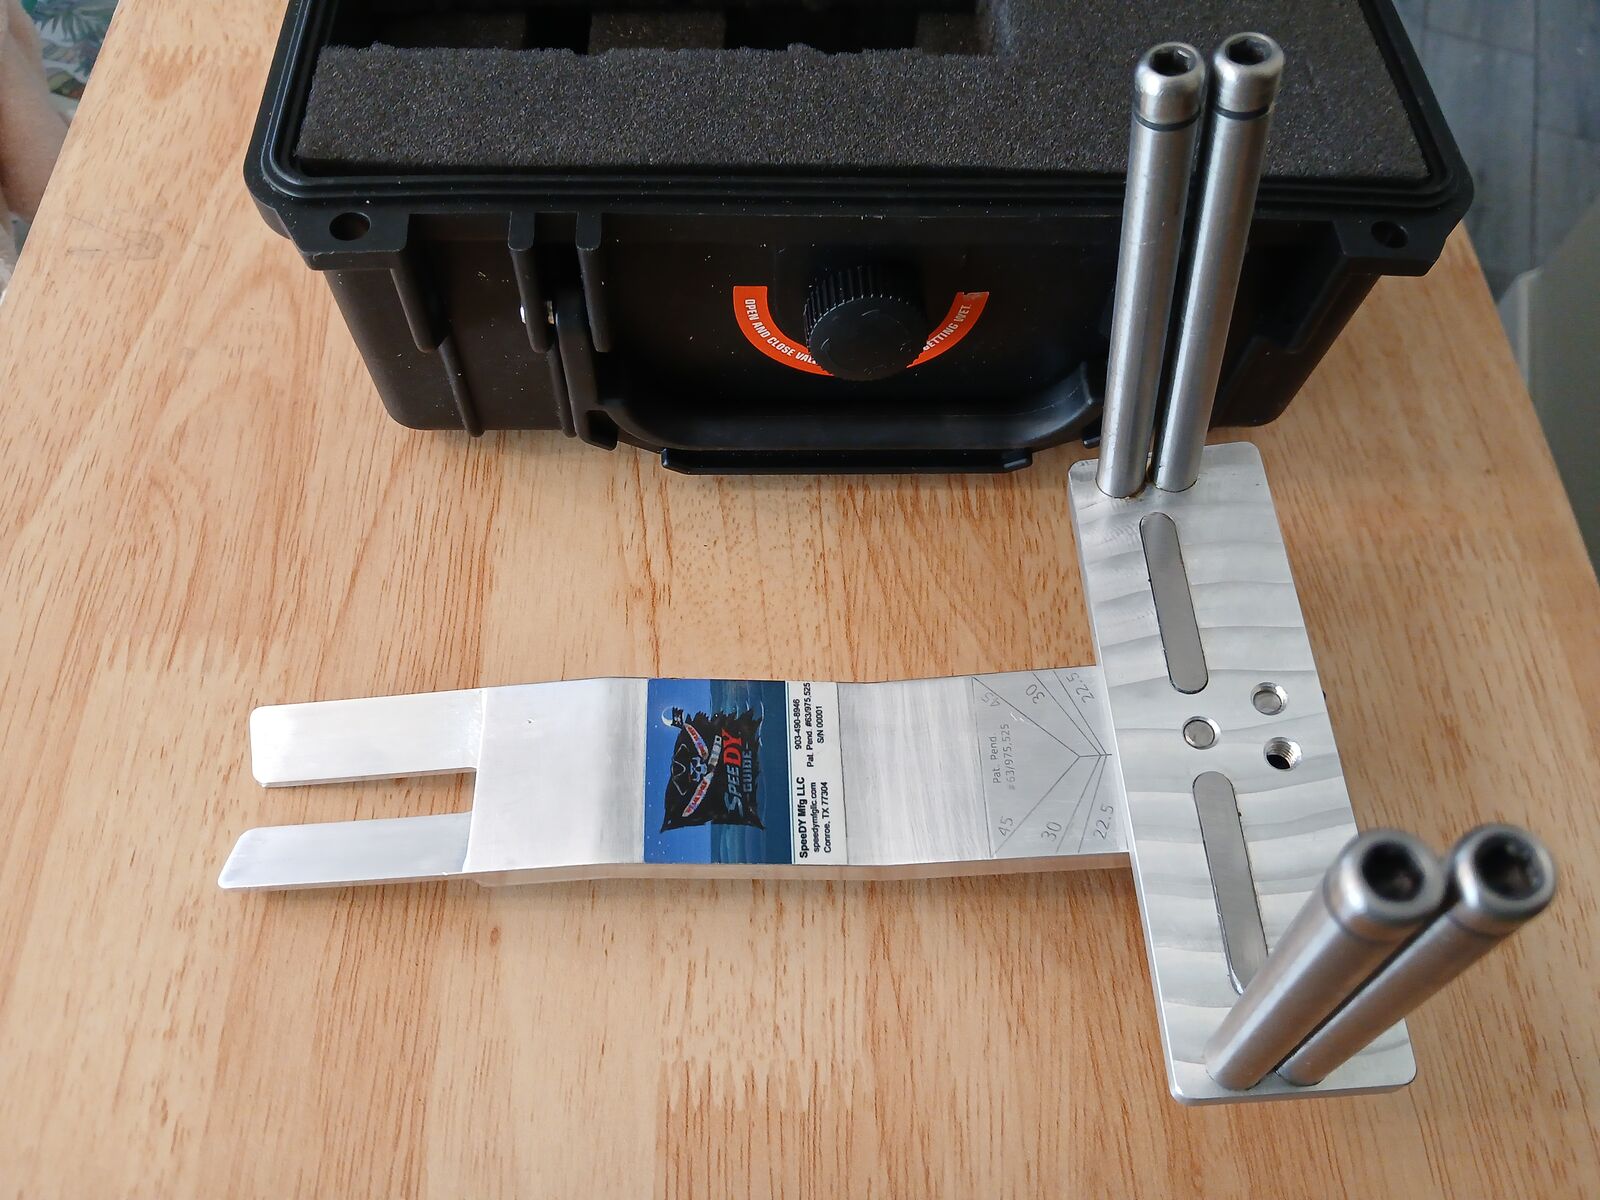
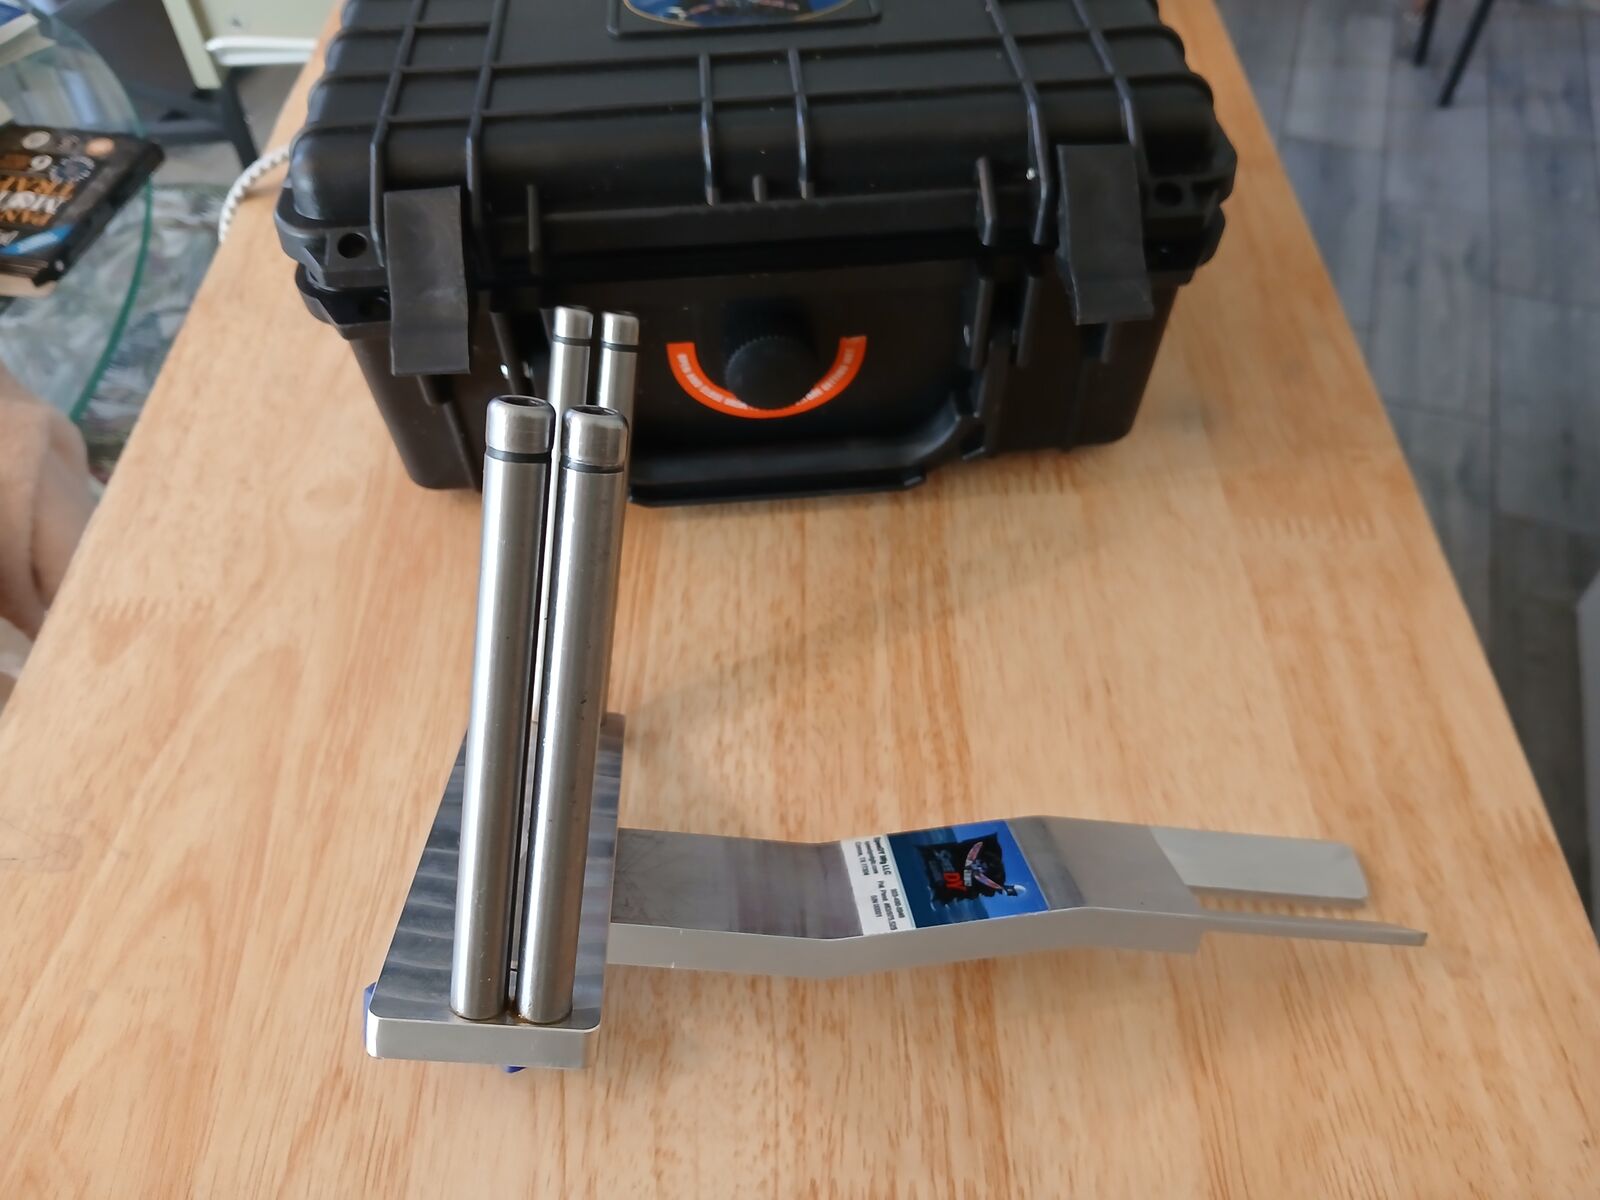
Attach Pivot Bar to Vise Bar
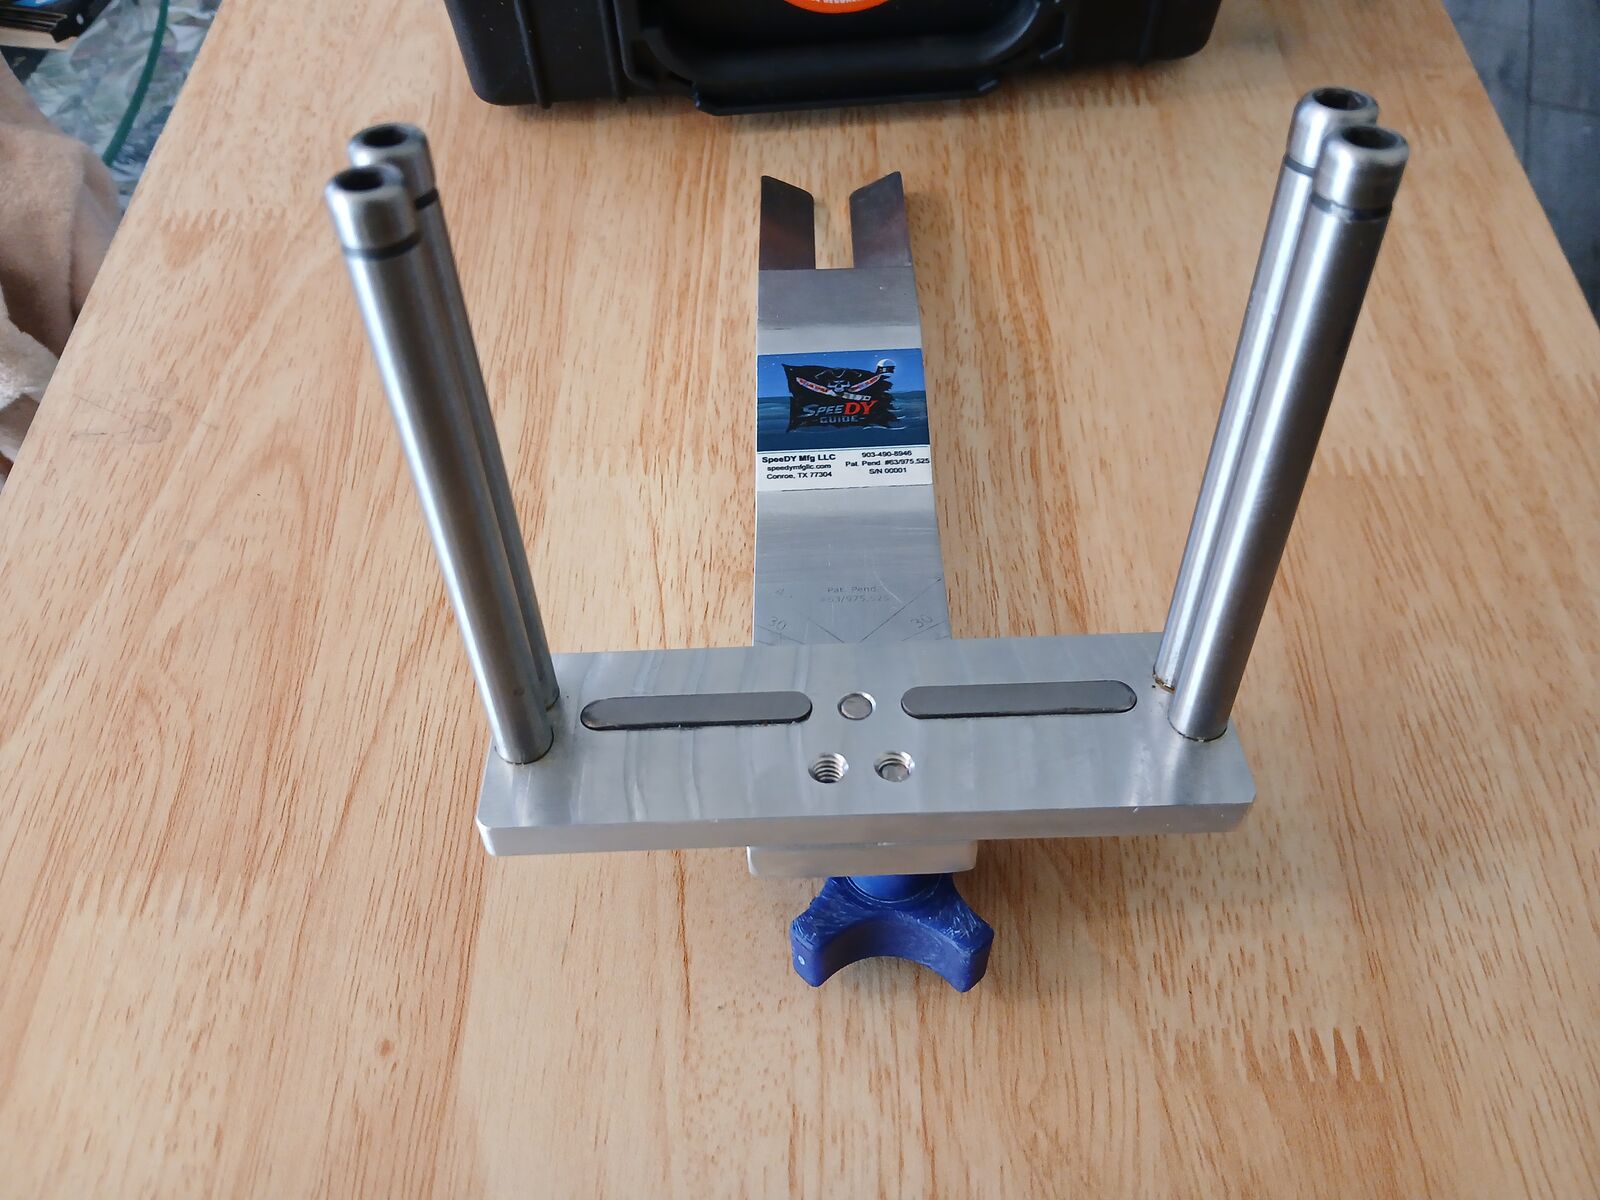
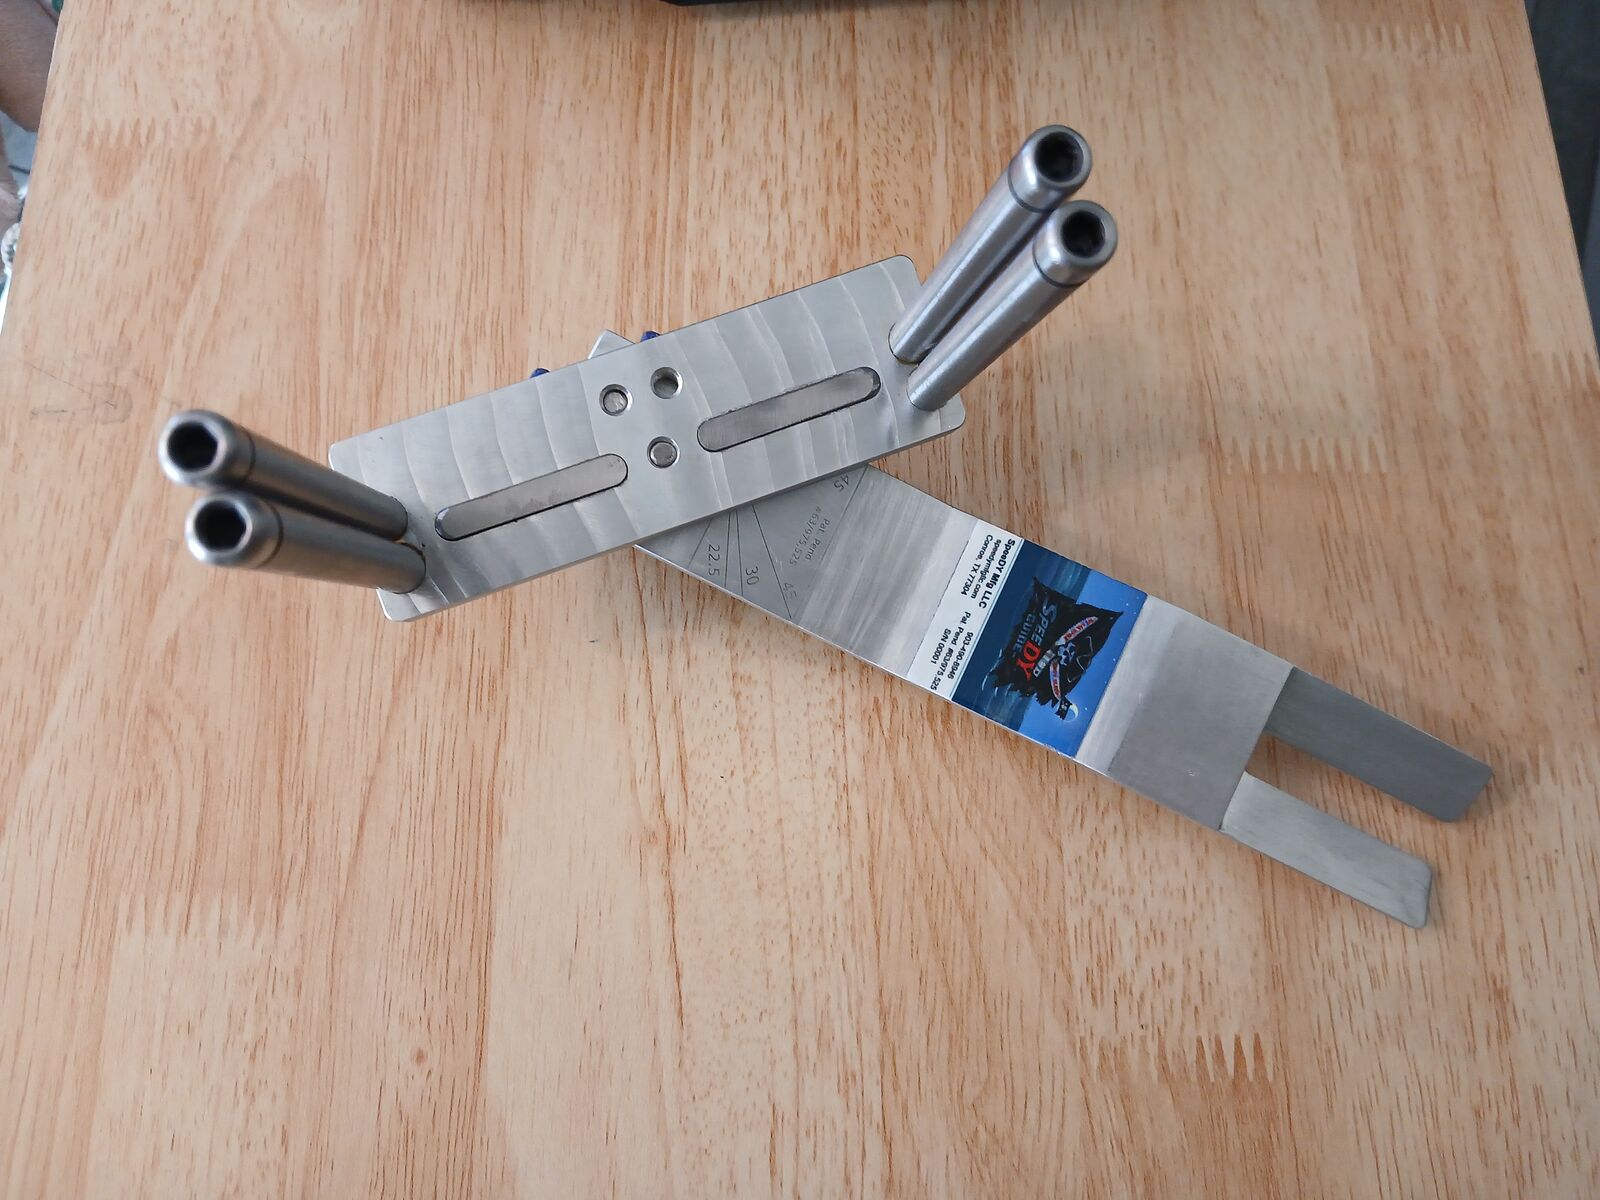
Insert the shoulder bolt through the Pivot Bar into the Vise Bar. Hand-tighten only. The bearing surface is the shoulder of the bolt, not the head — do not over-torque.
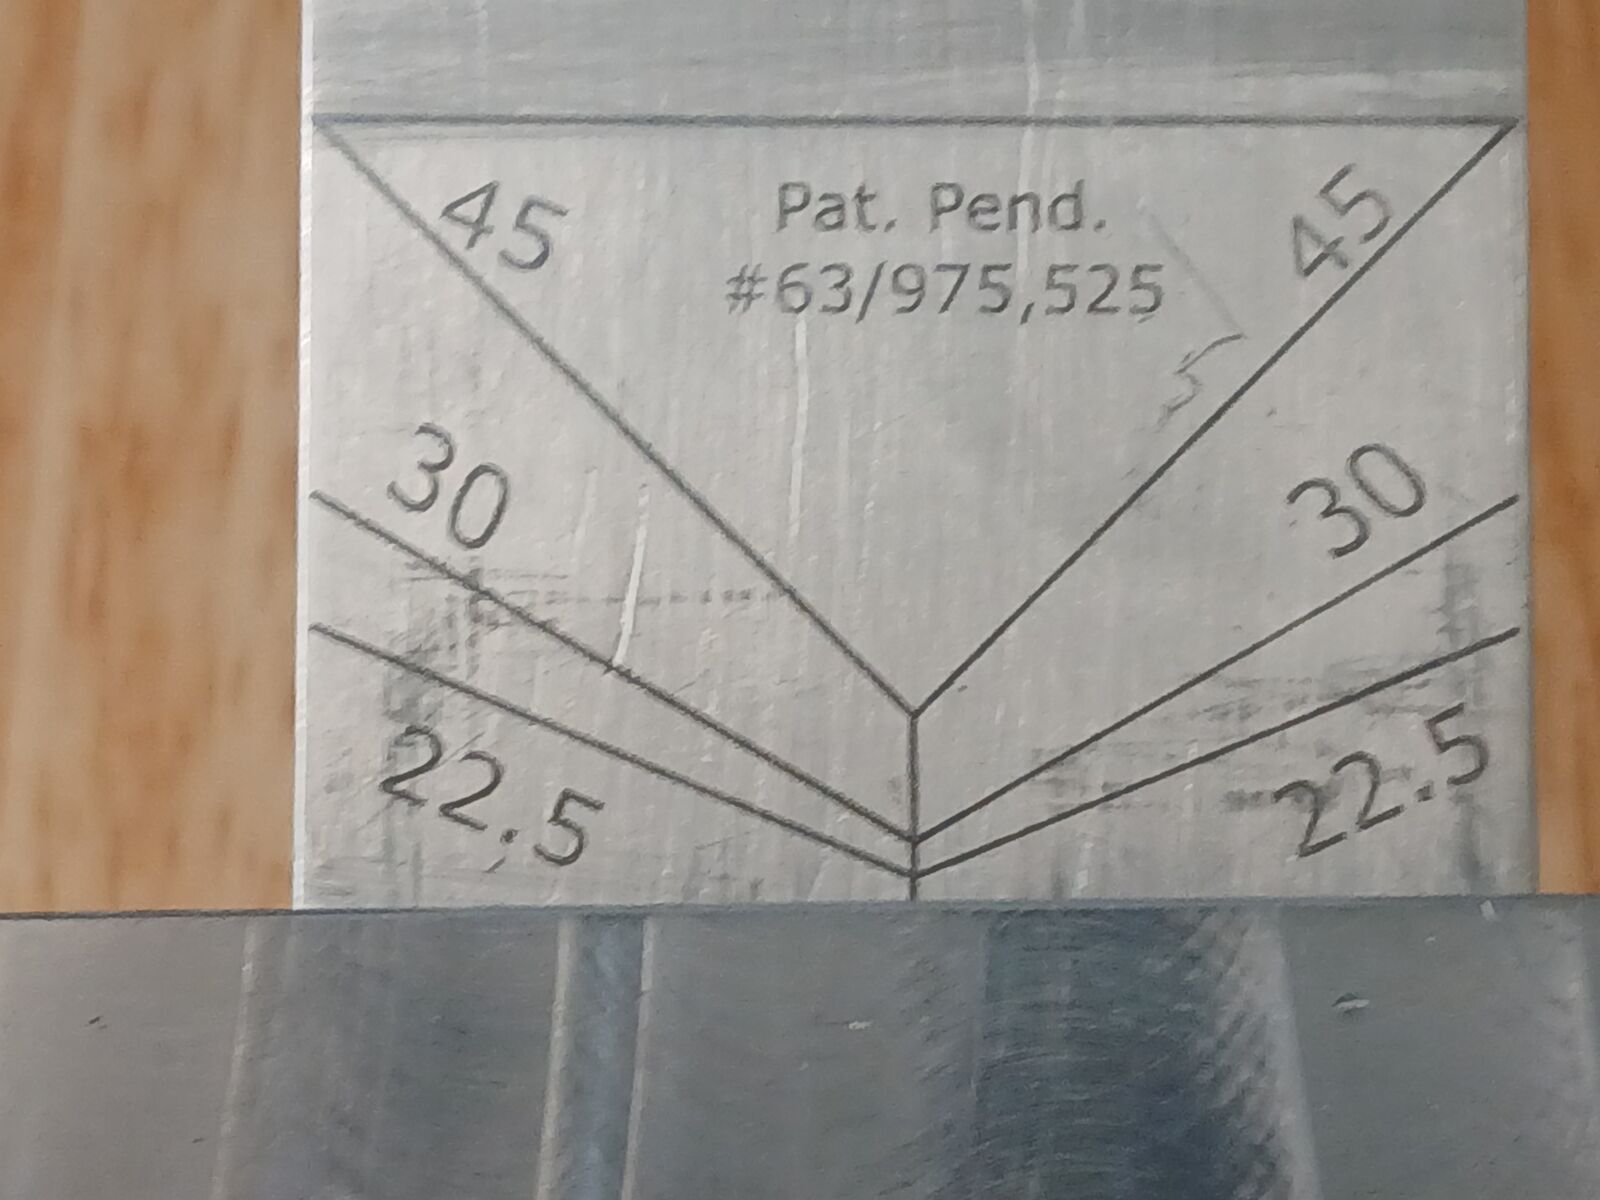
NOTE — The shoulder provides a precise rotational axis. Over-tightening binds the joint and destroys angle repeatability.